


TLDR; For those of you who prefer to consume content via YouTube, here’s a video outlining the steps below (starting at the K10 OAuth config portion):
Why Does Security Even Matter for K8s?
I’ve always considered security a necessary evil in my line of work - we could do so many cool things, use that super slick new feature, or solve world hunger if only the InfoSec/AppSec/SecOps/etc team didn’t get in the way. Okay, okay, maybe I’m being a bit hyperbolic… and maybe even a bit hypocritical having previously worked for an AppSec company. But hey, click-bait sells.
The truth of the matter is we really do need security in our infrastructure, applications, and clouds, now more than ever. While emergent and improving technologies like Kubernetes, IaC, RESTful APIs, and generative AI make our lives as IT engineers, DevOps, PlatformOps, or CloudOps easier, so do they for threat actors, or “hackers” (such an overused term - insert a heavily photoshopped dude in a black hoodie here, with some green HTML behind him to add credibility). Just as normal “civilians” are beginning to learn and use automation and AI more in their daily lives, you can bet so too are the script kiddies, LulzSec (or the equivalent collectives today), and foreign government-sponsored cyber intelligence units, and they’re miles ahead in their sophisitication and use of these tools.
And before I launch into a poetic soliloquy of philosophy, technology, and the human condition, let’s narrow the scope a bit of this blog post to something a bit more practical - okay let’s narrow the scope a lot bit. We’re going to talk about implementing Authentication for OpenShift and Kasten K10.
AuthN and AuthZ
A big part of security is properly implementing both Authentication (AuthN) and Authorization (AuthZ) to ensure that only people we trust are allowed in, via the right door and perhaps only into the right room:
- Authentication (AuthN) is confirming you are who you say you are
- Authorization (AuthZ) is granting you access (if any) to only the resources you need access to
And as easy as it is to share the kubeadm key or use a single login for your openshift cluster, it’s pretty dangerous, hopefully for obvious reasons.
Okay, so we need to implement authentication for our OpenShift cluster and for Kasten so we can deploy and protect workloads. Let’s just use htpasswd because its quick, easy, and it just works! While you could do that (and to be honest I do it most of the time when building quick demo labs), it obviously doesn’t scale well. For all my infra or network playa’s in the house, think of host files vs DNS. For 1-3 systems, a host file will get you by, but try and scale that to anything more and your life quickly becomes a never ending task of updating text files.
Instead, let’s use something more sophisticated but still keep it easy. Enter OpenShift and Okta - so without further adieu, let’s get started:
Configure OpenShift to use Okta for Authentication
Rather than outling all of the steps, I’m going to simply link to a blog from Red Hat: How to Configure Okta as An Identity Provider for OpenShift
A few small notes, as the Red Hat blog is slightly dated and doesn’t match up to Okta’s site anymore.
Okta Application Configuration:
| Sign-in Method | OIDC - OpenID Connect |
| Application Type | Web Application |
| Grant Type | Authorization Code |
| Sign-in redirect URIs | https://oauth-openshift.apps. |
| Client ID | tQovYscUrhELIpumMxQR (note this is fake) |
| Client Secret | ZTpkAiuCLkMEAYlZKUVfromeIcVfcXzCwQmAnfyOxhmlbwujWCQBMVOyuBFhKbzR (note this is fake) |
Let’s apply some YAML
You’ll need to login via a terminal to the openshift cluster. Assuming you’re already logged in to the web console using kubeadmin, within the web console, click on kube:admin in the upper right corner, and select “copy login command.” A new browser tab should open, where you can click “Display Token” which should display something like:
Your API token is

sha256~QauZWuRAkHkqYYjfMIljadkkxXSxQFNHTjsFhoMXSKx

Log in with this token
oc login --token=sha256~QauZWuRAkHkqYYjfMIljadkkxXSxQFNHTjsFhoMXSKx --server=https://api.<cluster-name>.<cluster domain>:6443
...
Append --insecure-skip-tls-verify to the end of the oc command to login (yeah, yeah, I know, this blog was supposed to be focused on SECURITY, but adding TLS certs is a whole other “thing” we can maybe cover later)
- Create a secret
$ oc create secret generic openid-okta-secret --from-literal=clientSecret=ZTpkAiuCLkMEAYlZKUVfromeIcVfcXzCwQmAnfyOxhmlbwujWCQBMVOyuBFhKbzR -n openshift-config - Update the OAuth object in OpenShift to add Okta as an identity provider
$ cat <<EOF | kubectl apply -f - apiVersion: config.openshift.io/v1 kind: OAuth metadata: name: cluster spec: identityProviders: - mappingMethod: claim name: okta openID: claims: email: - email name: - name - email preferredUsername: - preferred_username - email clientID: tQovYscUrhELIpumMxQR clientSecret: name: openid-okta-secret extraScopes: - email - profile issuer: https://dev-12345678.okta.com type: OpenID EOF - Watch the pods in the
openshift-authenticationnamespace (it’ll take a minute for OpenShift to pickup the config change and apply it). You’ll want to wait until the pod is inRUNNINGstatus with a relatively young age:$ oc get pods -n openshift-authentication -w NAME READY STATUS RESTARTS AGE oauth-openshift-abcdefghij-klmno 1/1 Running 0 8m43s - Get the route of the OpenShift console and fire up your favorite browser:
$ oc get routes -n openshift-console
NAME        HOST/PORT                                                PATH   SERVICES    PORT    TERMINATION          WILDCARD
console     console-openshift-console.apps.<cluster-name>.<cluster domain>            console     https   reencrypt/Redirect   None
downloads   downloads-openshift-console.apps.<cluster-name>.<cluster domain>         downloads   http    edge/Redirect        None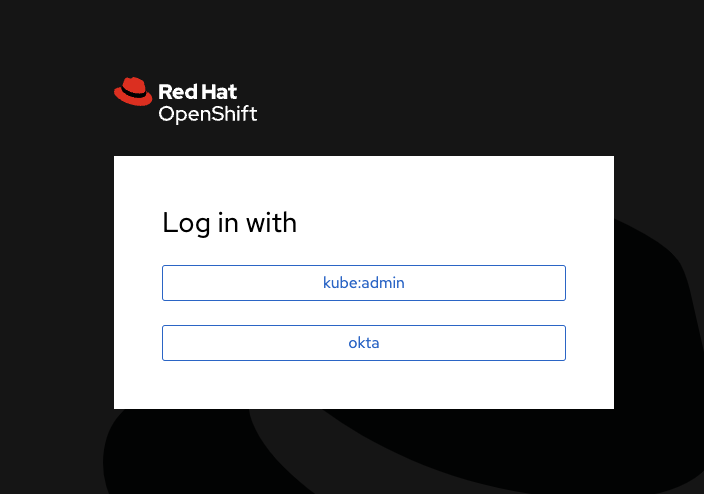
- Login with your Okta user and you should see the OpenShift console (albeit with essentially no privileges). That’s because we have configured Okta for Authentication but not Authorization.
- We need to add either a
rolebindingorclusterrolebindingto the user that just authenticated. Note there are ways to do this automagically in OpenShift via groups, but in the interest of brevity, we’re going to grant roles manually. For more information on Default cluster roles and the difference betweenRoleBindingsandClusterRoleBindings, check out the Red Hat OpenShift Authentication and Authorization Documentation.oc create clusterrolebinding cluster-admin-mattslotten --clusterrole=cluster-admin --user=matt.slotten@hisemail.comConfigure OAuth for Kasten K10 Authentication and Authorization
So we’ve got Okta working for our OpenShift cluster, now let’s get it working for Kasten K10 so we can leverage the benefits of Single Sign On for both OpenShift and Kasten K10.
- First, we need to retrieve the URL for our Kasten K10 instance deployed on our cluster:
$ oc get routes -n kasten-io NAME HOST/PORT PATH SERVICES PORT TERMINATION WILDCARD k10-route k10-route-kasten-io.apps.<cluster-name>.<cluster domain> /k10/ gateway http None - We’ll use the HOST/PORT data to create a Service Account with the
serviceaccounts.openshift.io/oauth-redirecturi.dexannotationcat <<EOF | oc apply -f - apiVersion: v1 kind: ServiceAccount metadata: name: k10-dex-sa namespace: kasten-io annotations: serviceaccounts.openshift.io/oauth-redirecturi.dex: https://k10-route-kasten-io.apps.<cluster-name>.<cluster domain>/k10/dex/callback EOF - Next we’ll create a secret token that will be mapped to our
k10-dex-saService Account we just created:cat <<EOF | oc apply --namespace=kasten-io -f - apiVersion: v1 kind: Secret type: kubernetes.io/service-account-token metadata: name: k10-dex-sa-secret annotations: kubernetes.io/service-account.name: "k10-dex-sa" EOF - We need to retrieve the token just generated, which we’ll use to update our Kasten configuration (either via Helm or the OpenShift Operator YAML, whichever one we used to deploy Kasten):
$ my_token=$(kubectl -n kasten-io get secret k10-dex-sa-secret -o jsonpath='{.data.token}' | base64 -d) && echo $my_token - Assuming we are using the OpenShift self-signed certificate for both the ingress and external load balancer (as opposed to using the OpenShift cluster-wide proxy or third-party signed certificates), we need to retrieve the entire certificate chains and stash them in a local file (we’ll name it
custom-ca-bundle.pem), which we will use later in our configuration:$ oc get secret router-ca -n openshift-ingress-operator -o jsonpath='{.data.tls\.crt}' | \ base64 --decode > custom-ca-bundle.pem $ oc get secret external-loadbalancer-serving-certkey -n openshift-kube-apiserver -o jsonpath='{.data.tls\.crt}' | \ base64 --decode >> custom-ca-bundle.pem - Nearly there! Now we just need to store that certificate chain in a configmap in our OpenShift cluster:
$ oc --namespace kasten-io create configmap custom-ca-bundle-store --from-file=custom-ca-bundle.pem -
Now it’s time to update our Kasten K10 configuration to use OAuth as an identity provider.
If you installed Kasten K10 previously using a helm chart, you’ll need to use
helm upgradeand set the appropriate flags as defined in the Kasten K10 documentation.If you installed Kasten K10 via the OpenShift OperatorHub, you’ll need to update the YAML configuration of the operator under the
specsection: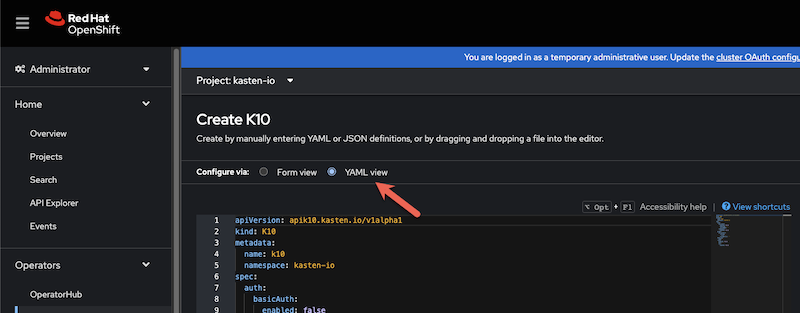
apiVersion: apik10.kasten.io/v1alpha1 kind: K10 metadata: name: k10 namespace: kasten-io spec: auth: openshift: enabled: true serviceAccount: "k10-dex-sa" clientSecret: "<k10 dex secret which should be stashed in a local variable called $my_token>" dashboardURL: "<K10's dashboard URL>" openshiftURL: "<OpenShift API server's URL>" insecureCA: false cacertconfigmap: name: "custom-ca-bundle-store" route: enabled: true tls: enabled: true - Once you click
Savein the UI, you can watch the pods restart in thekasten-ionamespace to (hopefully) pick up our new OAuth configuration:$ oc get pods -n kasten-io -w
As you watch the pods come up, the key one we want to keep an eye on is named auth-svc-. If there’s a misconfiguration, we’ll see that pod CrashLoopBackOff or Error. In writing this blog, I missed a subdomain for the OpenShift API Server URL, so I was seeing an error in the auth-svc pod logs of cause:{message:dial tcp 192.1.2.3:24224: connect: connection refused}}}
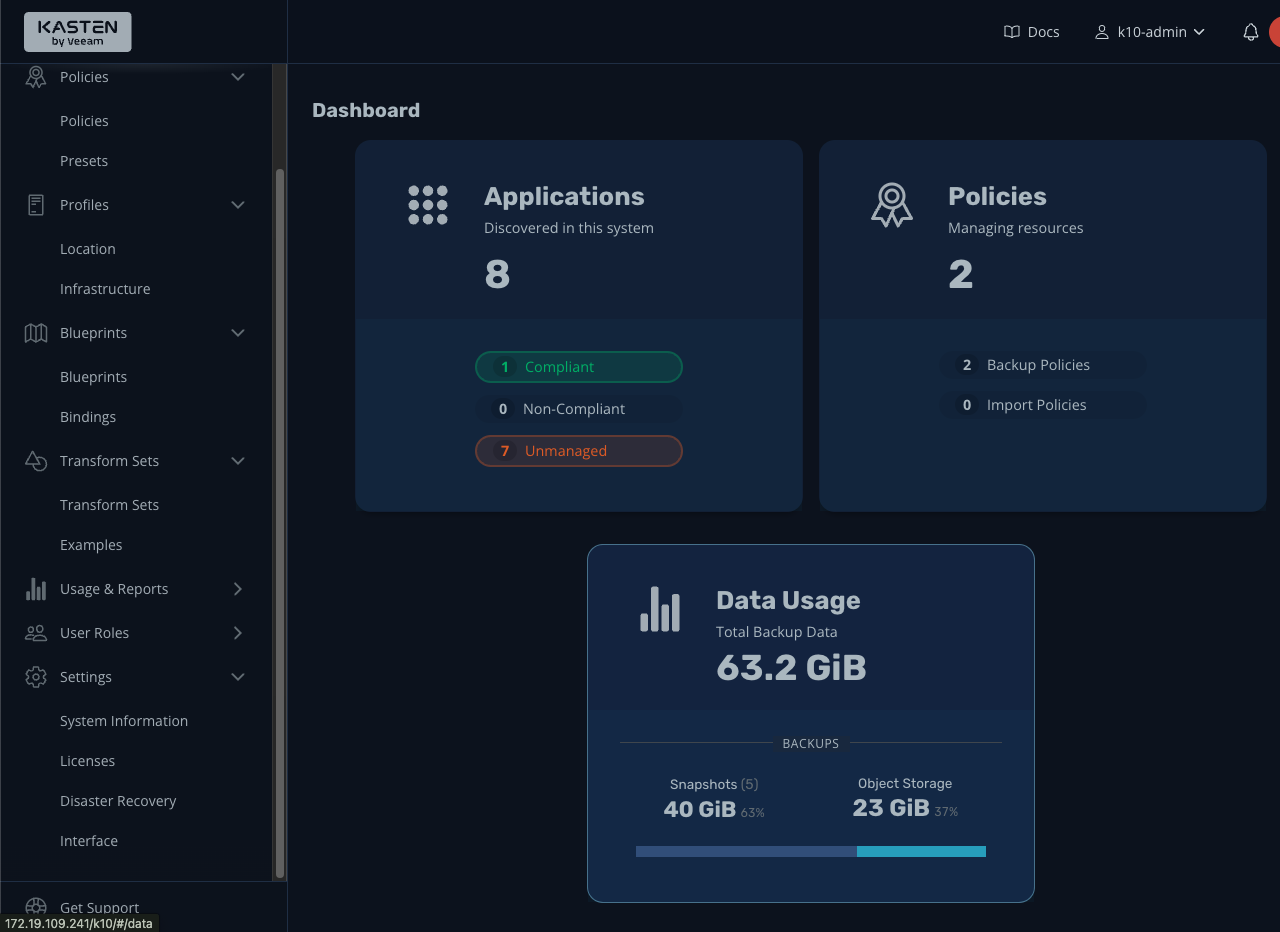
And that’s pretty much it!
Because our user has the clusterrolebinding of cluster-admin, he has unrestricted access within k10. If we gave him a narrower scope on the cluster, we can still grant him Kasten administrative access using the k10-admin clusterrole:
$ oc create clusterrolebinding k10-admin-kastendemo --clusterrole=k10-admin --user=matt.slotten@hisemail.com


