


Check out this blog post for an interactive demo of the Red Hat Migration Toolkit for Virtualization (MTV)
Overview
With the ongoing controversy around Broadcom’s acquisition of VMware and subsequent changes to pricing and partner eco-systems, many customer are looking at their options around their virtualisation provider. Most solid alternatives consist of the same type 2 hypervisor technology, products such as Nutanix, Hyper-V and Proxmox.
However there is an alternative that many cloud native enterprises are now looking towards…KubeVirt.
Kubevirt is a native Kubernetes environment addon that allows virtual machines to run inside containers. It consists of translating the vmdk into a pvc and the running state into a pod. It all runs inside a namespace on Kubernetes and thus can be addressed via the API. This means that Kasten can backup those VM’s in the exact same fashion as native containerised workloads.
As of the date of publishing this article, Kasten only officially supports KubeVirt on Red Hat OpenShift (called Openshift Virtualisation, or OCP-V), which is a sensible approach as KubeVirt is a downstream open-source project authored by Red Hat based upon OCP-V.
The question then becomes, how do I migrate to OCP-V and just what is involved. Thankfully it’s actually quite easy and can be done in both an offline and online fashion. In this post I will detail the steps involved in migrating a test Ubuntu 22.04 LTS Server with a basic nginx installation to OCP-V and detailing the steps to expose the services.
The test migration setup I am using is as follows:
- VMware ESXi 7.0u2 with vCentre 7
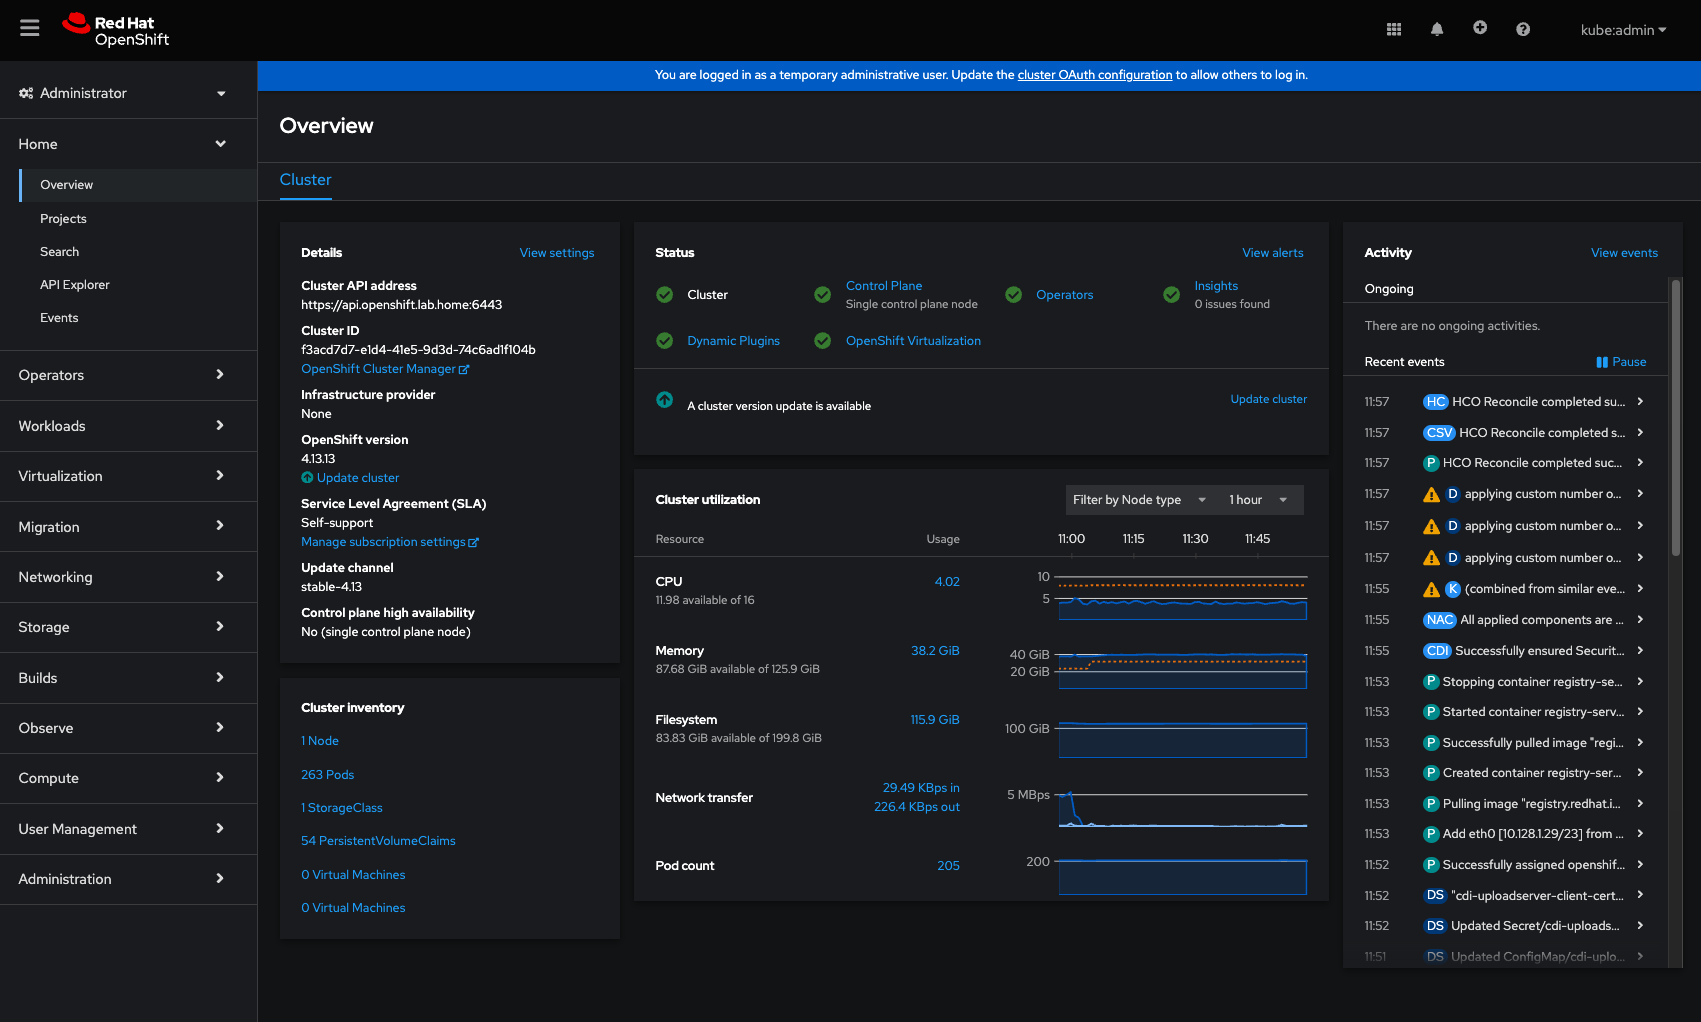
- OpenShift 4.13.13 with rook-ceph CSI storage
- Ubuntu 22.04 LTS test VM (with 20GB vmdk)
- Red Hat Virtualisation Operator
- Red Hat Migration Toolkit for Virtualisation (MTV) Operator
- Kasten K10 Operator
The test VM is configured with a static IP address and includes the nginx web server.
NOTE: In order for Openshift Virtualisation to work it needs access to the hypervisor CPU extensions, either directly through the BIOS if using a Bare Metal install of Openshift or by enabling pass through hypervisor extensions in the CPU options of a VM’s hardware settings if using Openshift inside a hypervisor.
Setup & Migration
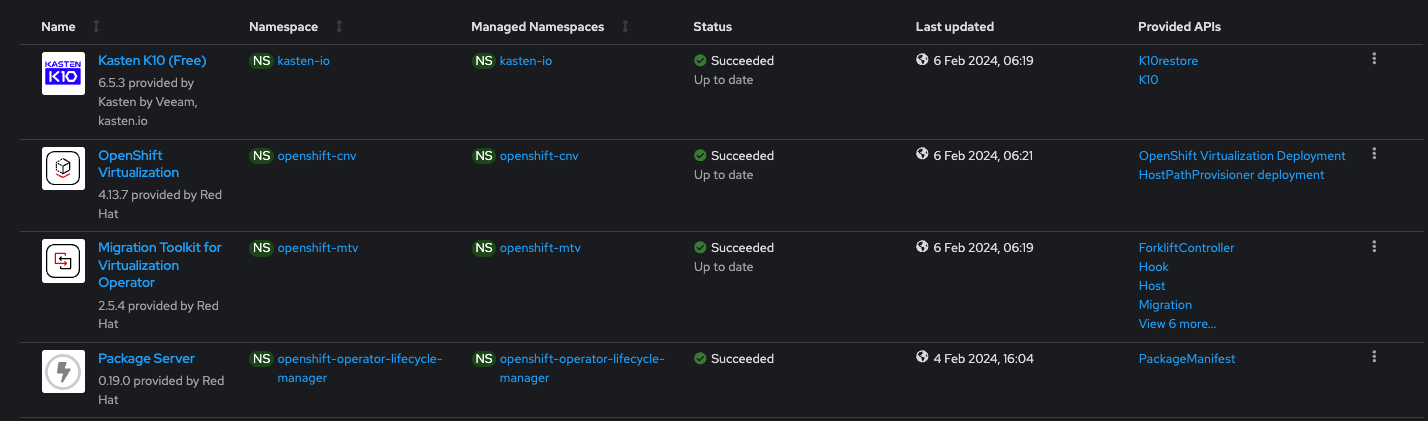
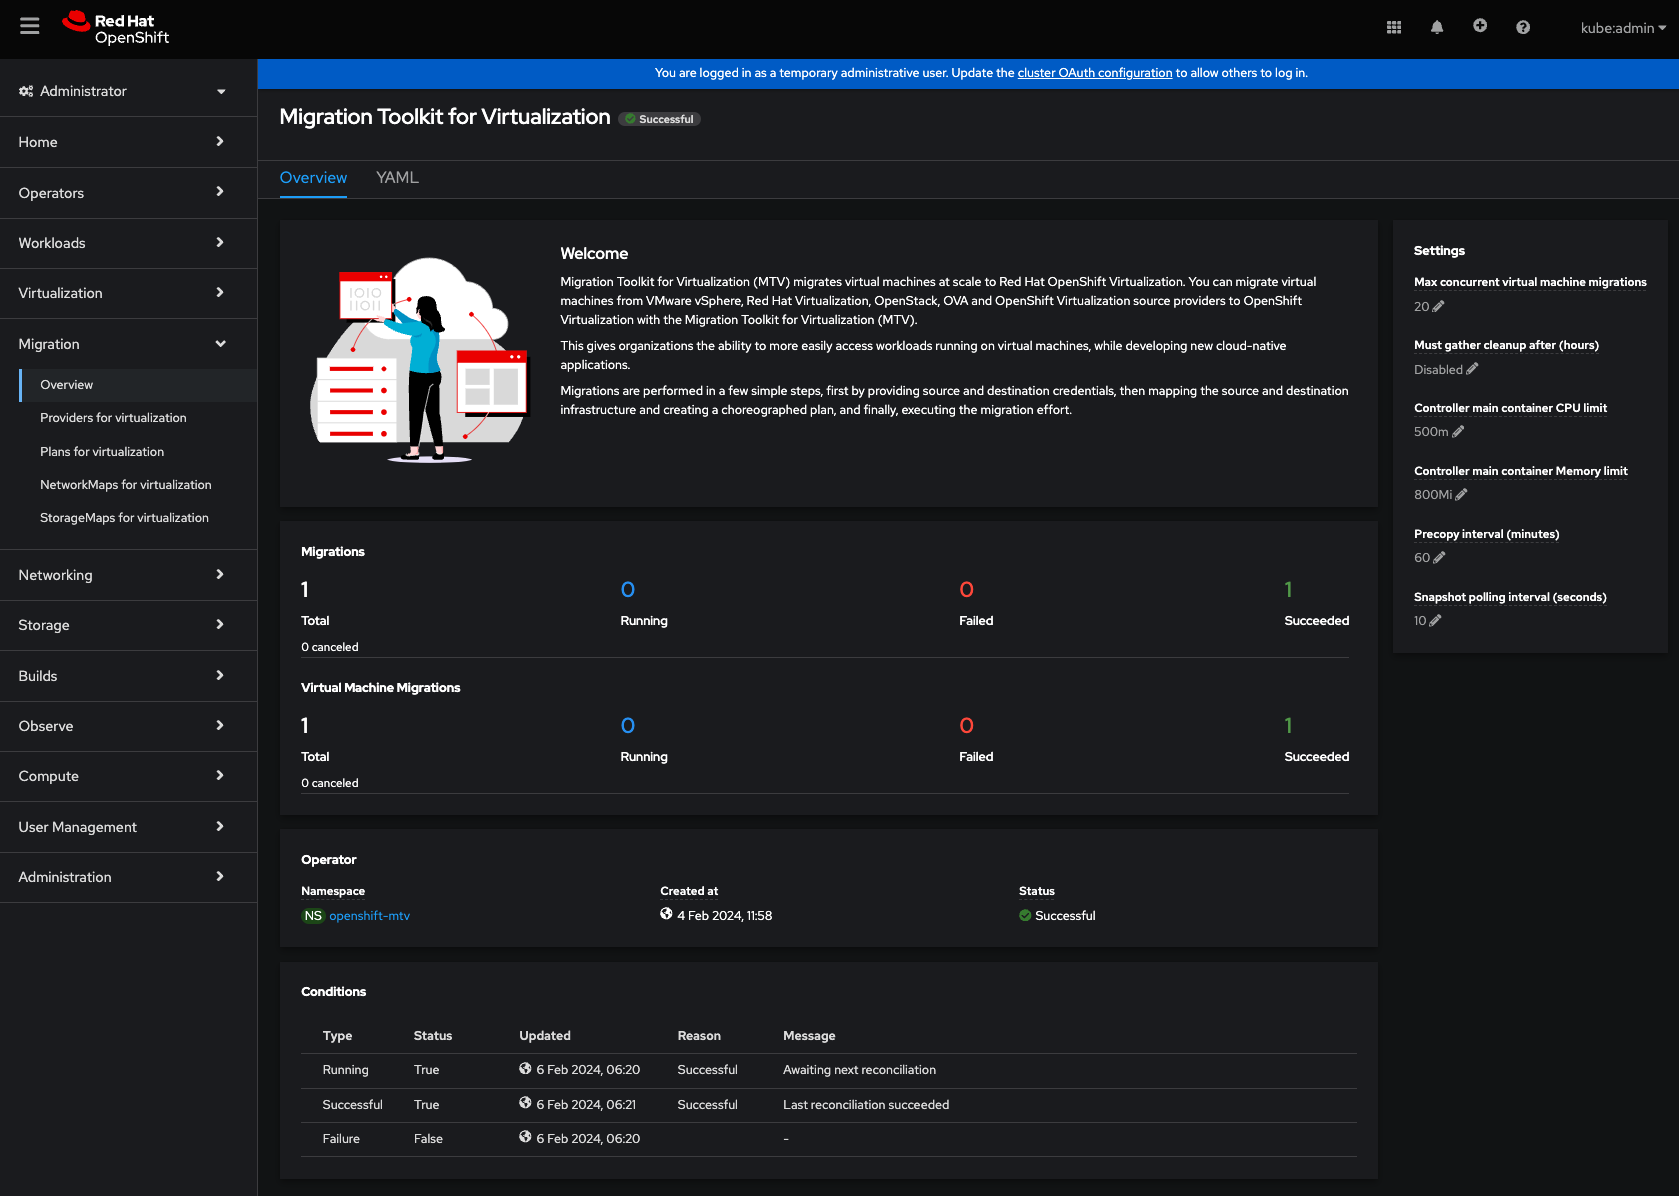
Once you have both Red Hat operators installed from the operator hub, you will notice two new side menu options in the main portal, Virtualisation and Migration.
 We will start with the Migration (we will use the Virtualisation later on).
Once we open up the side panel, you will see 4 new items… Providers, Plans, NetworkMaps and StorageMaps. All these must be configured to process a successful migration.
We will start with the Migration (we will use the Virtualisation later on).
Once we open up the side panel, you will see 4 new items… Providers, Plans, NetworkMaps and StorageMaps. All these must be configured to process a successful migration.
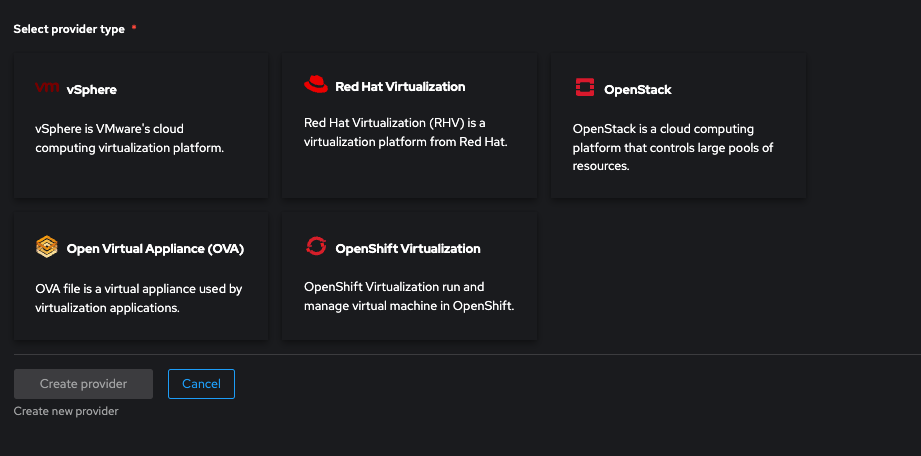
- Providers - These detail the platform integrations. You can migrate from VMware, Red Hat RHV, Red Hat OpenStack and other Openshift platforms (Version 4.x only).
- Plans - This is the migration plan to detail source and destination platforms and options.
- NetworkMaps - Here we detail how we are going to address the networking translation, eg VM Network to Openshift network layers
- StorageMap - Lastly we detail how we map the individual ESXi data stores to the cluster CSI storage classes.
Providers
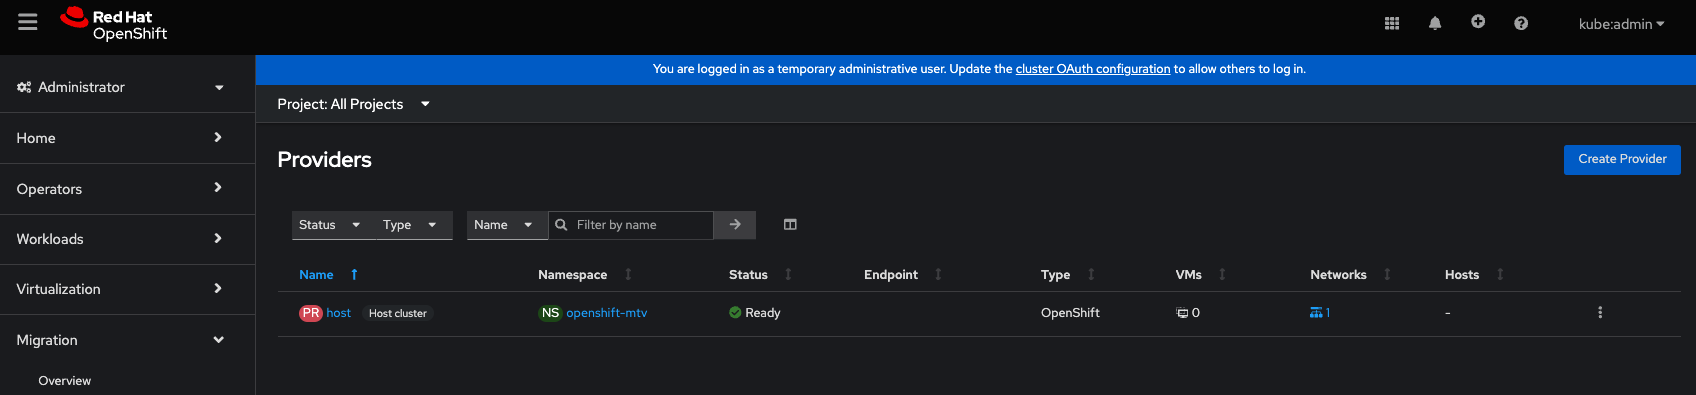
Click create a new provider. We add a provider for VMware:
Fill out the options, each entry will turn green once the format is correct:
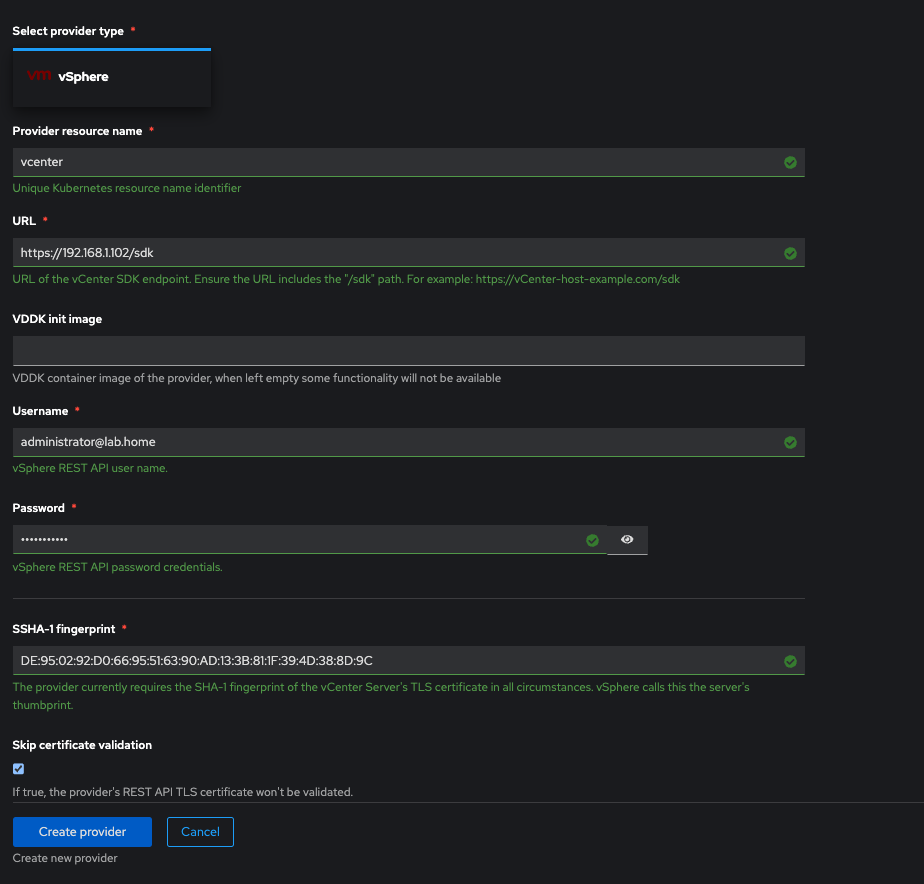
For the SSHA-1 fingerprint you will need to SSH into the Vcenter appliance and get access to the shell. Shell access is usually only granted from the appliance service web console:
https://vcenterIP:5480
Once you have enabled the shell access, SSH into the vcenter appliance and type the command shell to get to the cmdline:
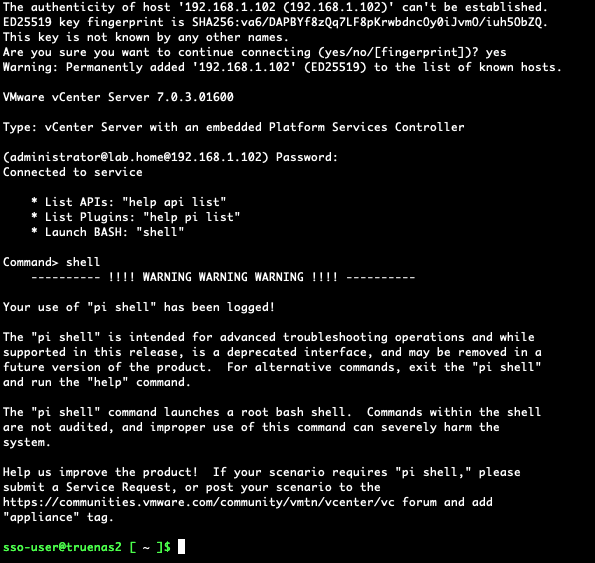
Once there enter the following command:
echo | openssl s_client -connect localhost:443 2>/dev/null | openssl x509 -noout -fingerprint -sha1
This will output the SHA1 fingerprint:

Your provider is now complete.
NetworkMap
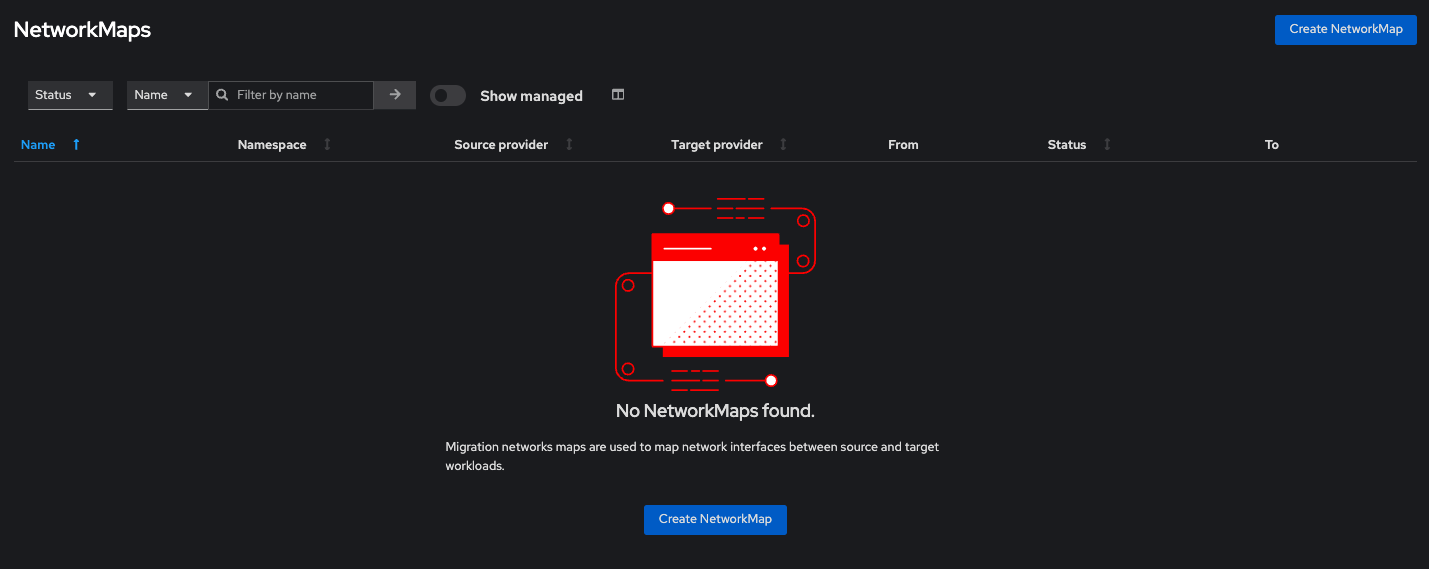
Click on Create NetworkMap. Use a sensible name for the mapping name, pick your source and destination providers (host will always be the destination name for openshift…it can’t be changed), then finally map the VMware networks to the openshift networks.
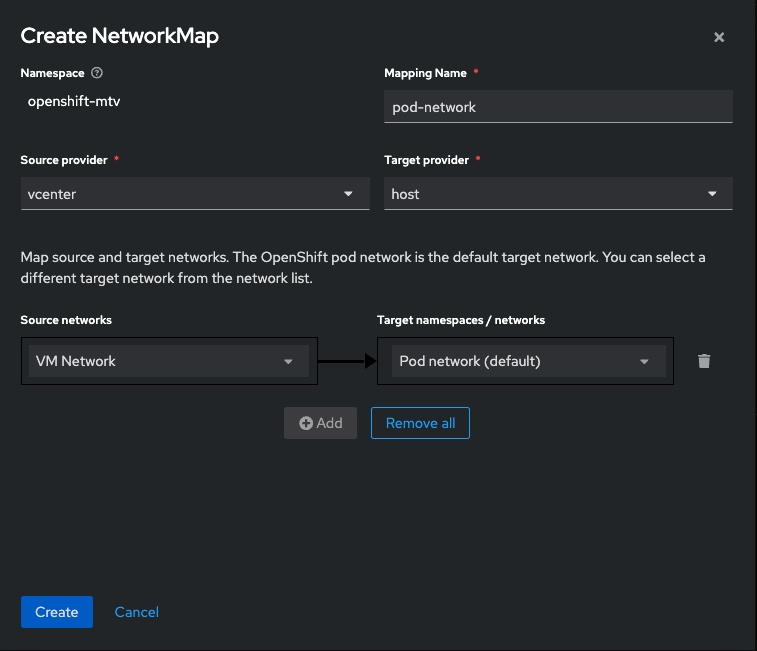
NetworkMapping is complete.
StorageMap
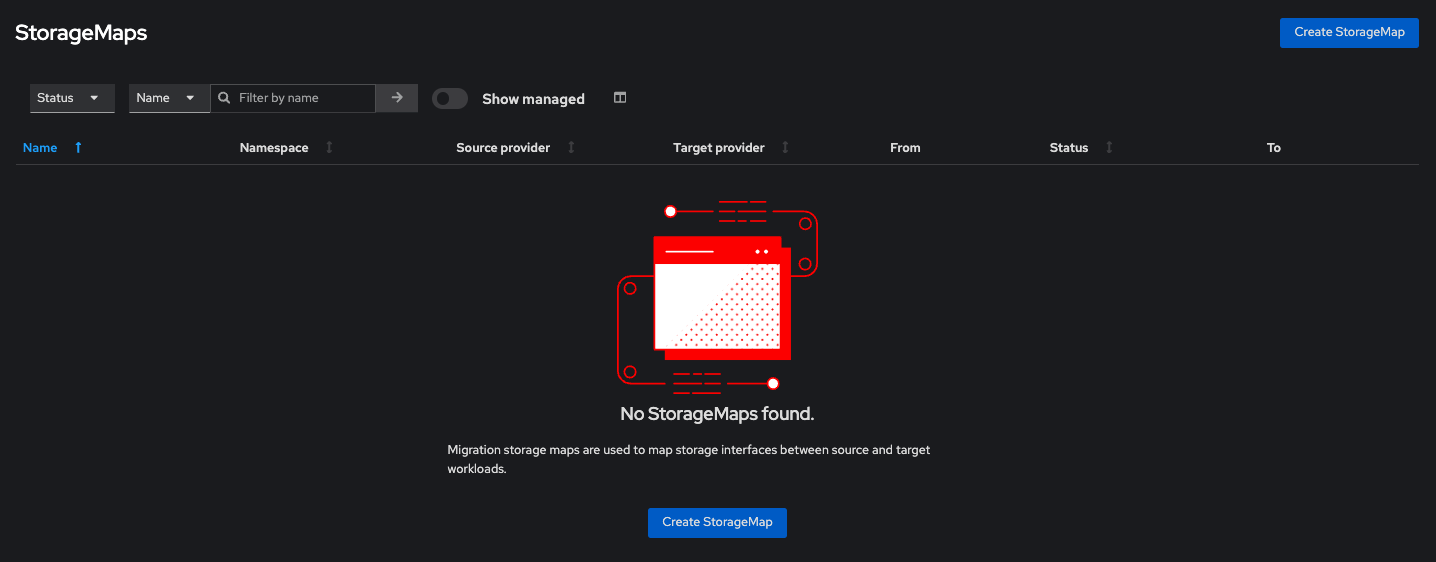
Click Create StorageMap. Use a sensible name for the mapping name, pick your source and destination providers, then finally map the ESXi data stores to the openshift CSI storage.
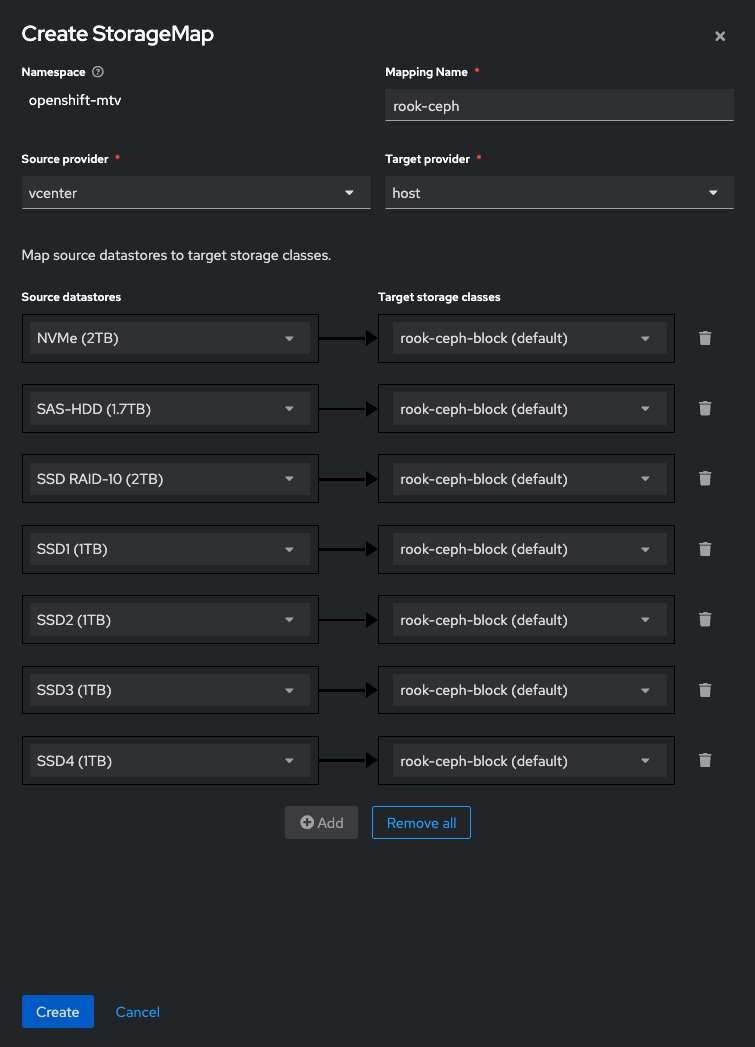
StorageMapping is complete.
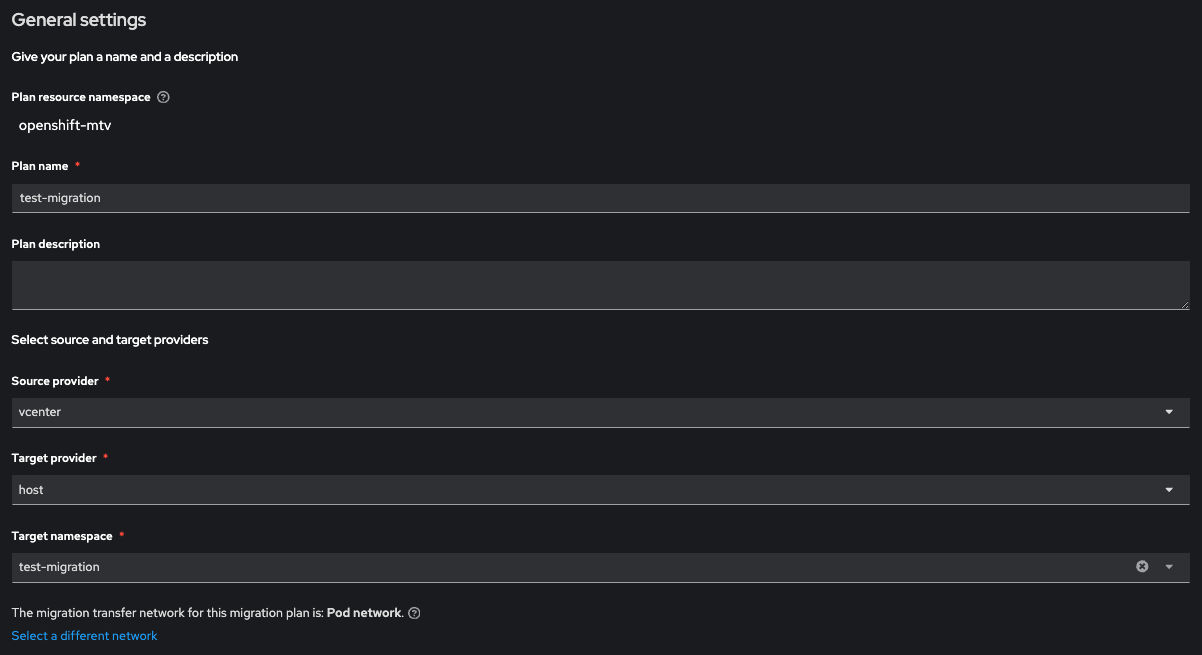
Setting up the Plan
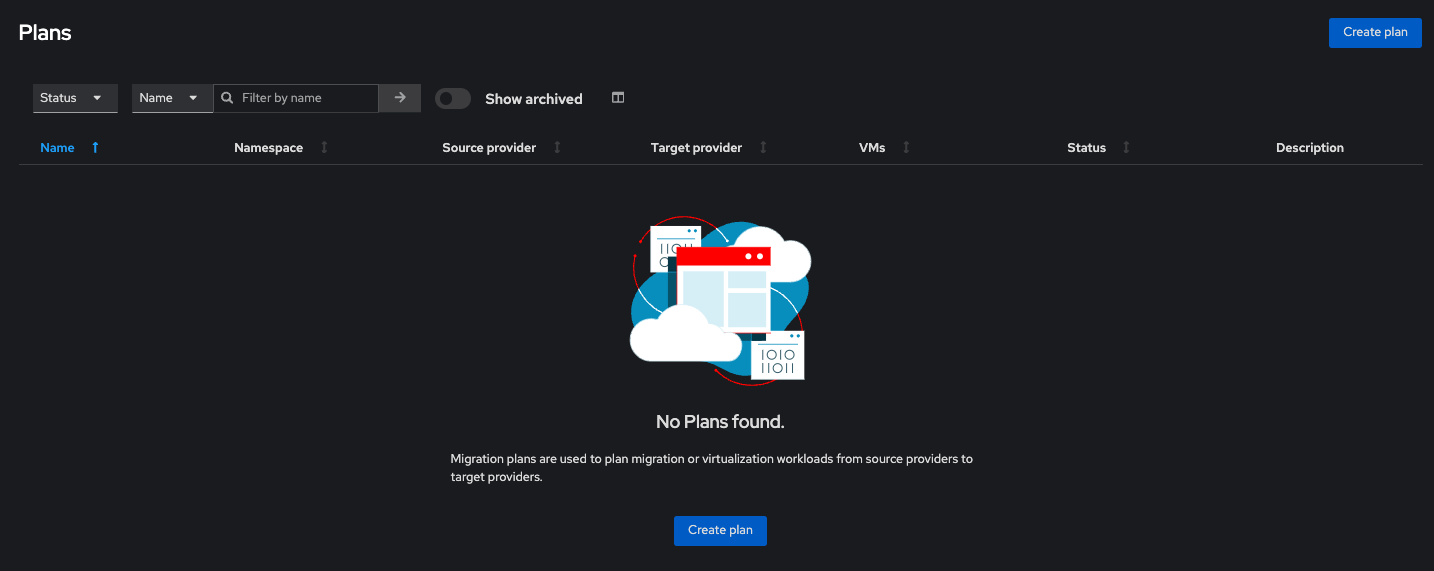
Click Create Plan. Give the plan a name, select the source and target providers and select the namespace you wish to migrate the VM into. It’s best to have this setup prior to creation of the plan:
oc create ns <vm namespace name>
Click next and select the correct VMware infrastructure for the source VM’s:
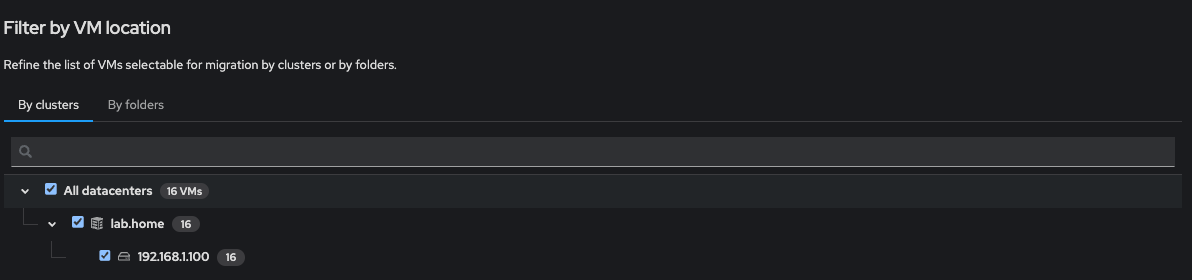
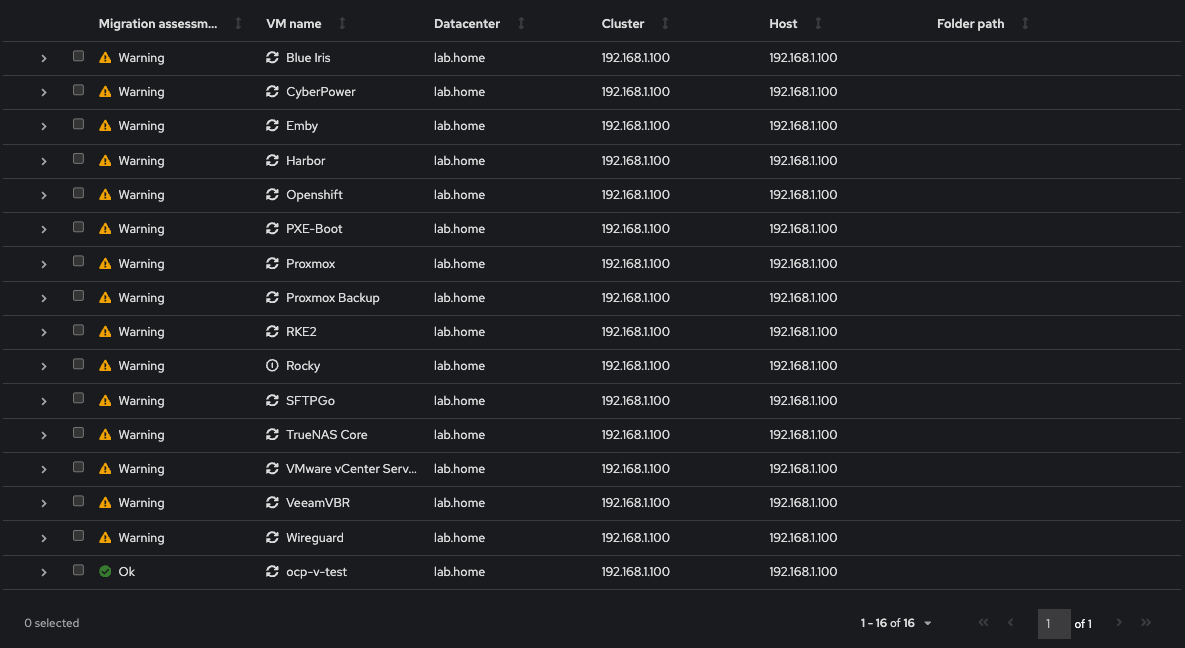
Select the VM you wish to migrate. Note that MTV will warn you of any issues that will prevent machines from being migrated. The most obvious of which is that the machine name cannot contain capital letters. Select the VM or VM’s you wish to migrate then click next.
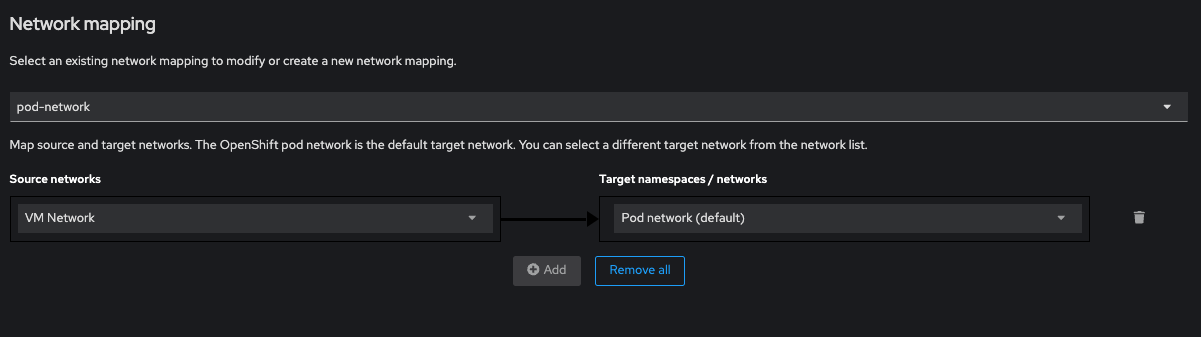
Select the exiting network mapping you made previously, then click next:
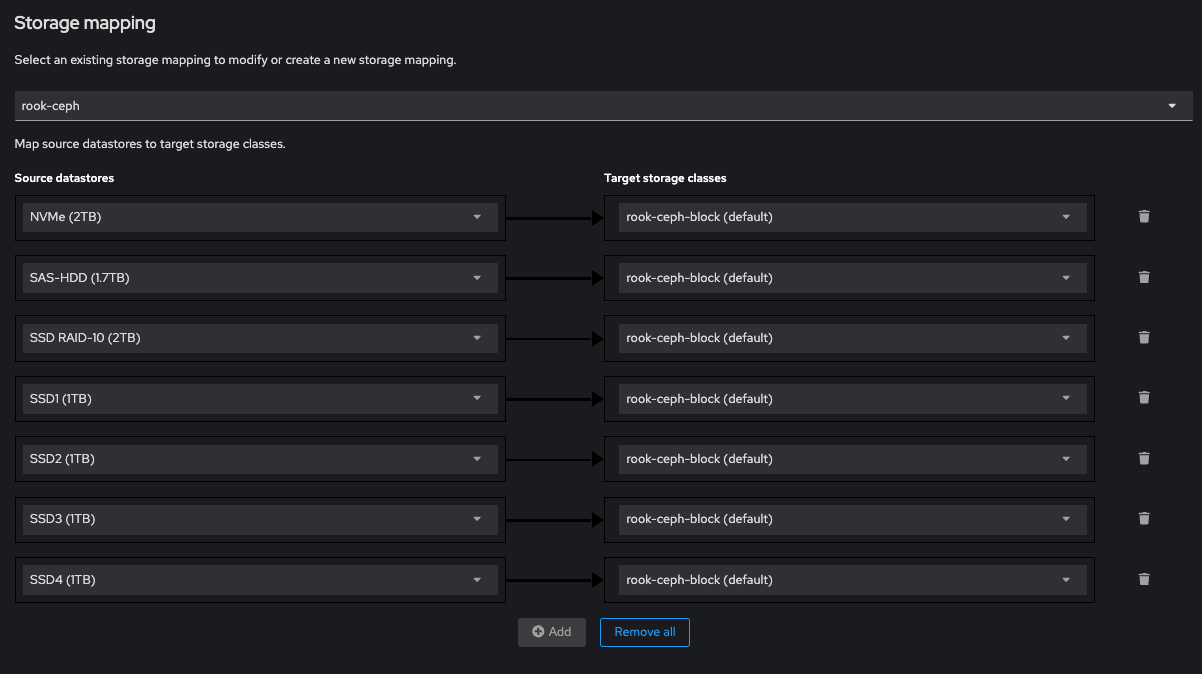
Select the existing storage mapping you made previously, then click next:
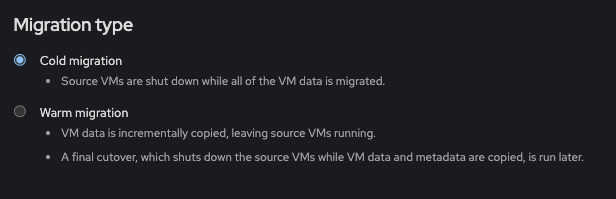
Select the migration type you wish to use…either Warm (online) or cold (offline), then click next:
Note that for warm migrations to work you will need to enable change block tracking for each VM. This can be accomplished by setting the option in the advanced settings per VM. This can only be done when the VM is powered off:
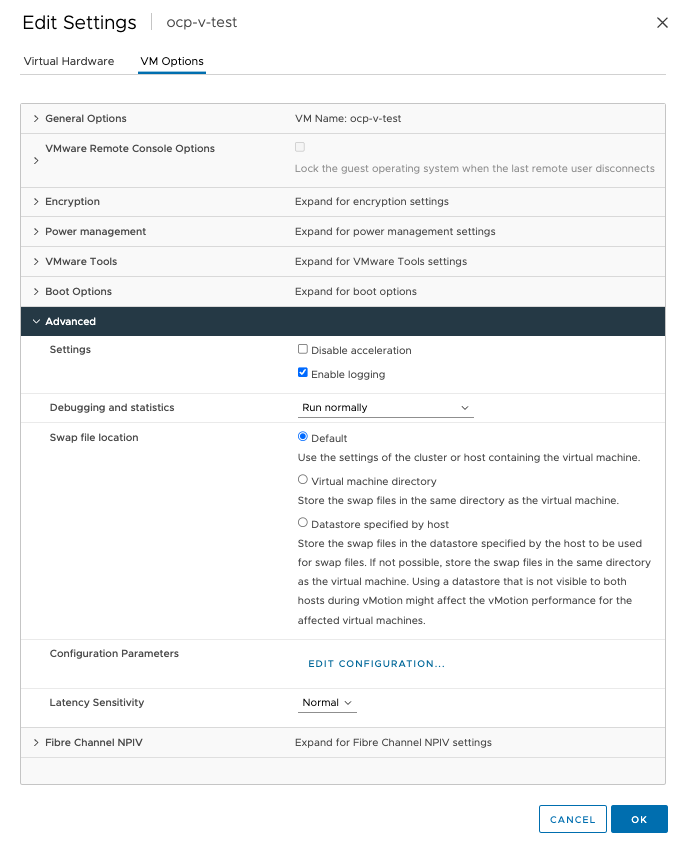
Edit the Configuration Parameters by clicking “Edit Configuration” and add the following setting/value statement:

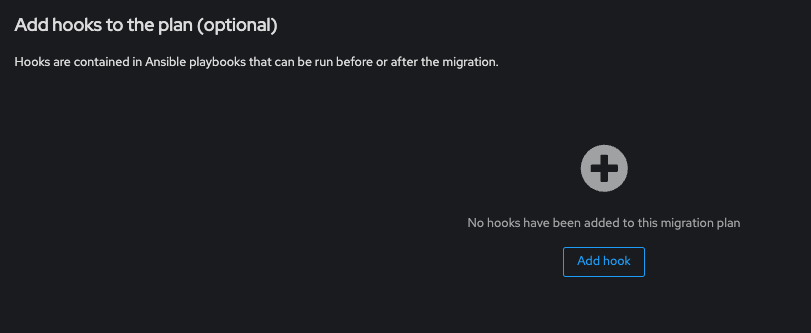
Next we can enter any hooks for Ansible scripts to run post migration automation. We are going to skip this step, click next:
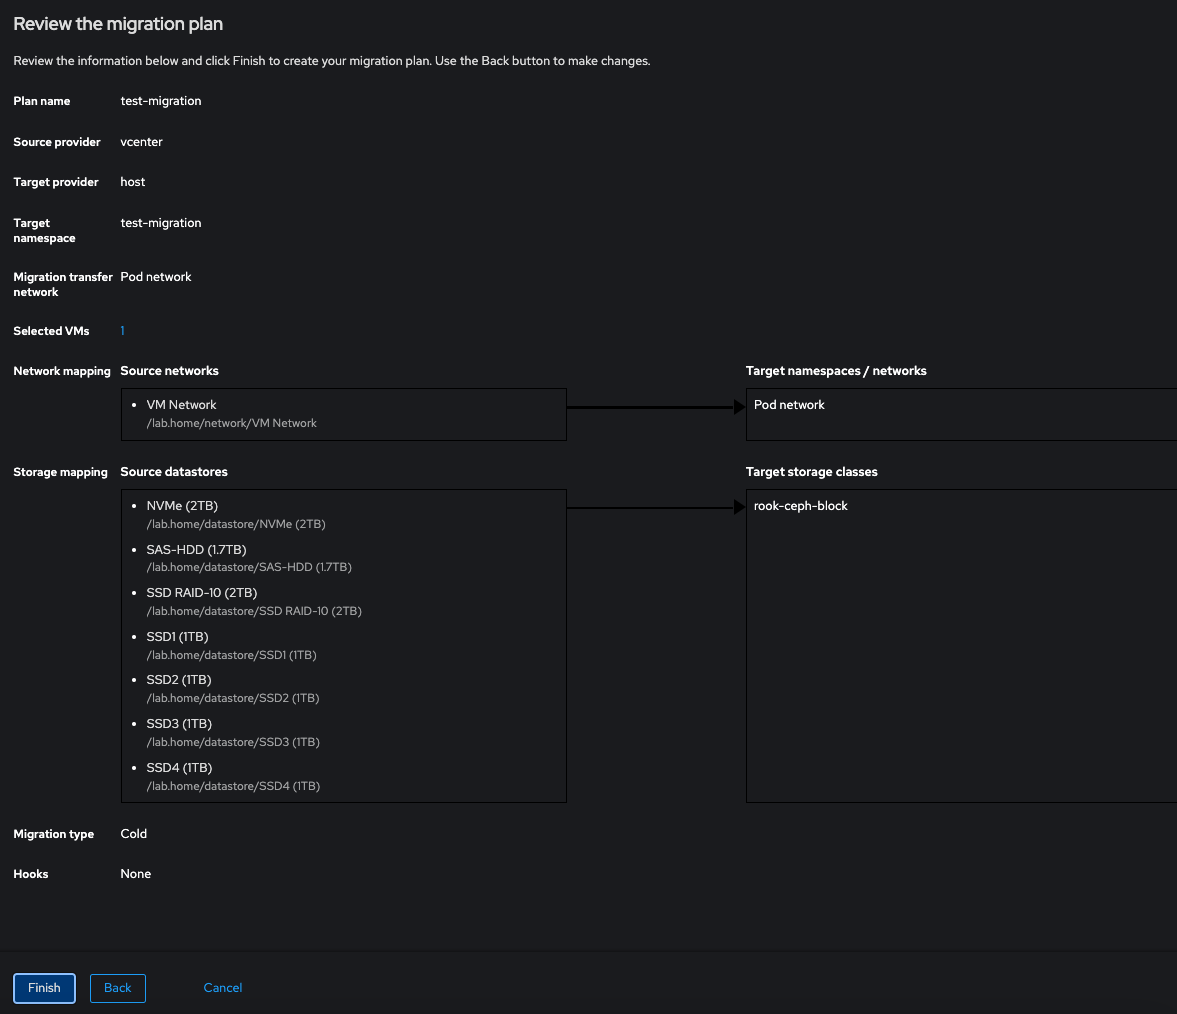
Lastly we get presented with a summary of our config, click Finish to confirm the migration setup:
We are now ready to start the migration…click START on the plan:

Migration Progress
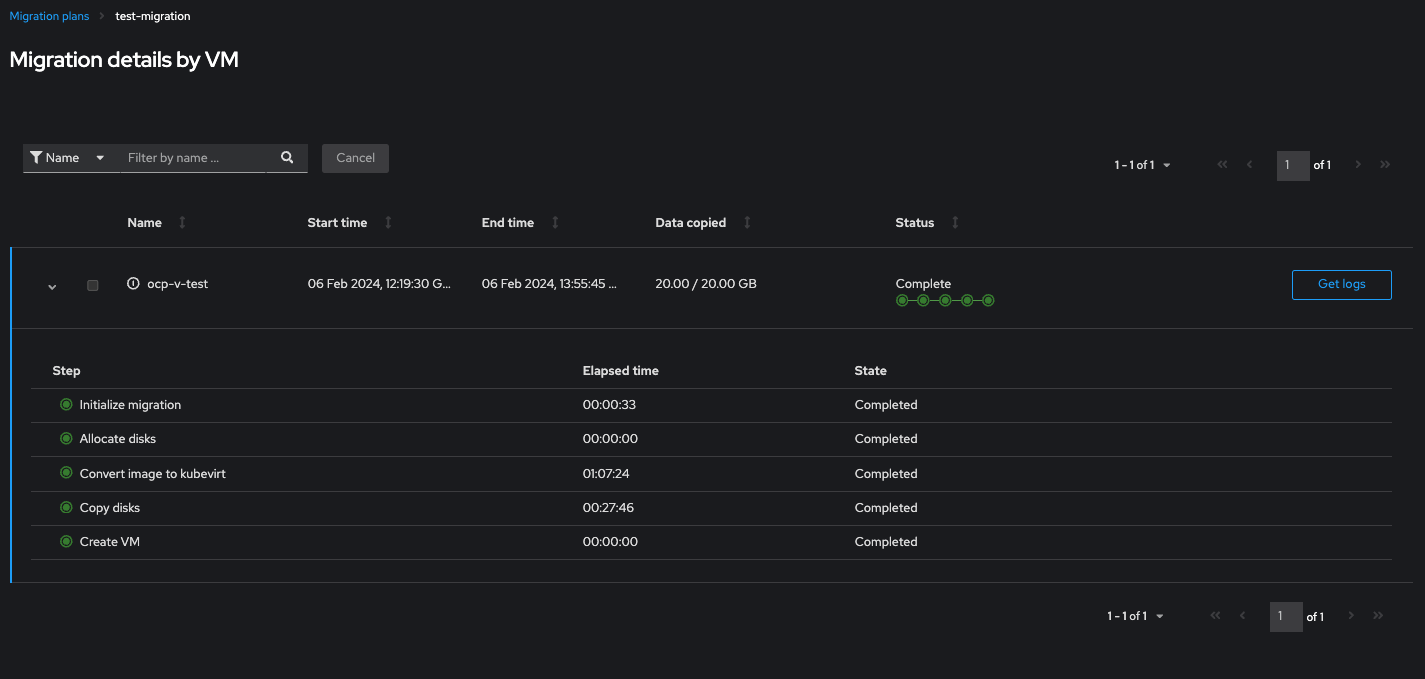
You can expand the drop down for the VM to reveal the stages and progress:
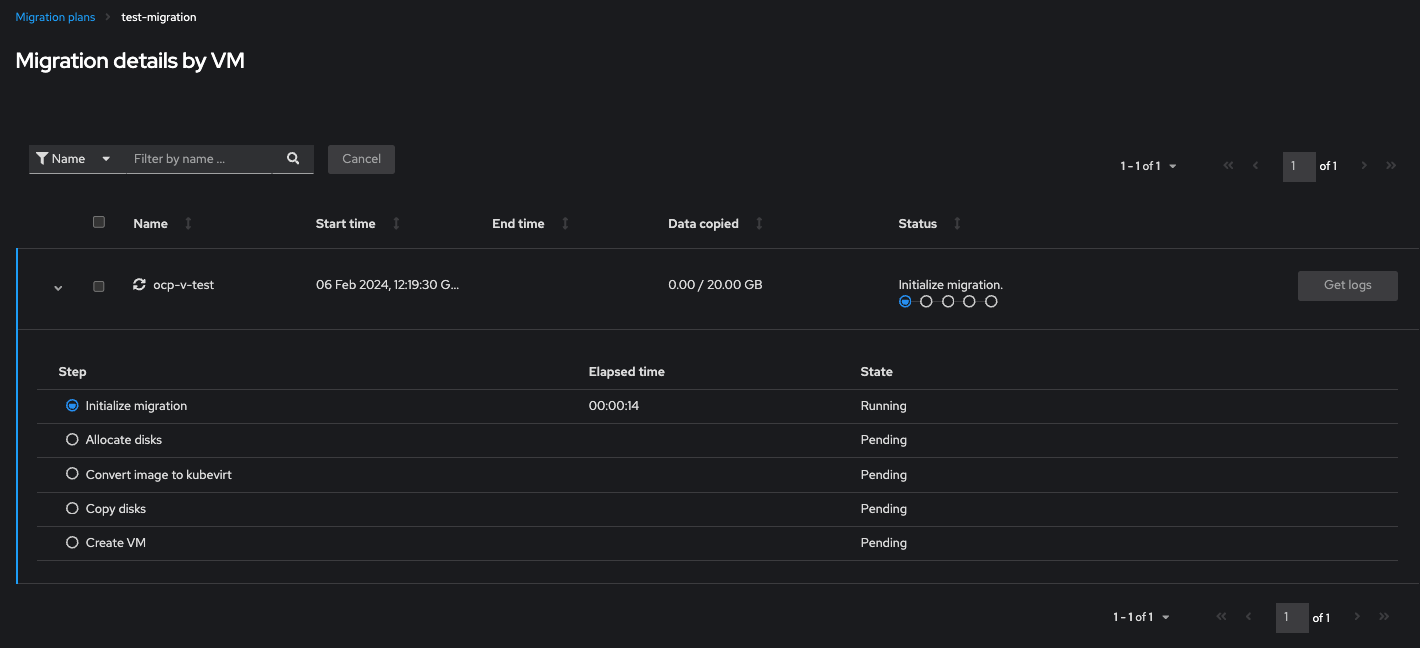
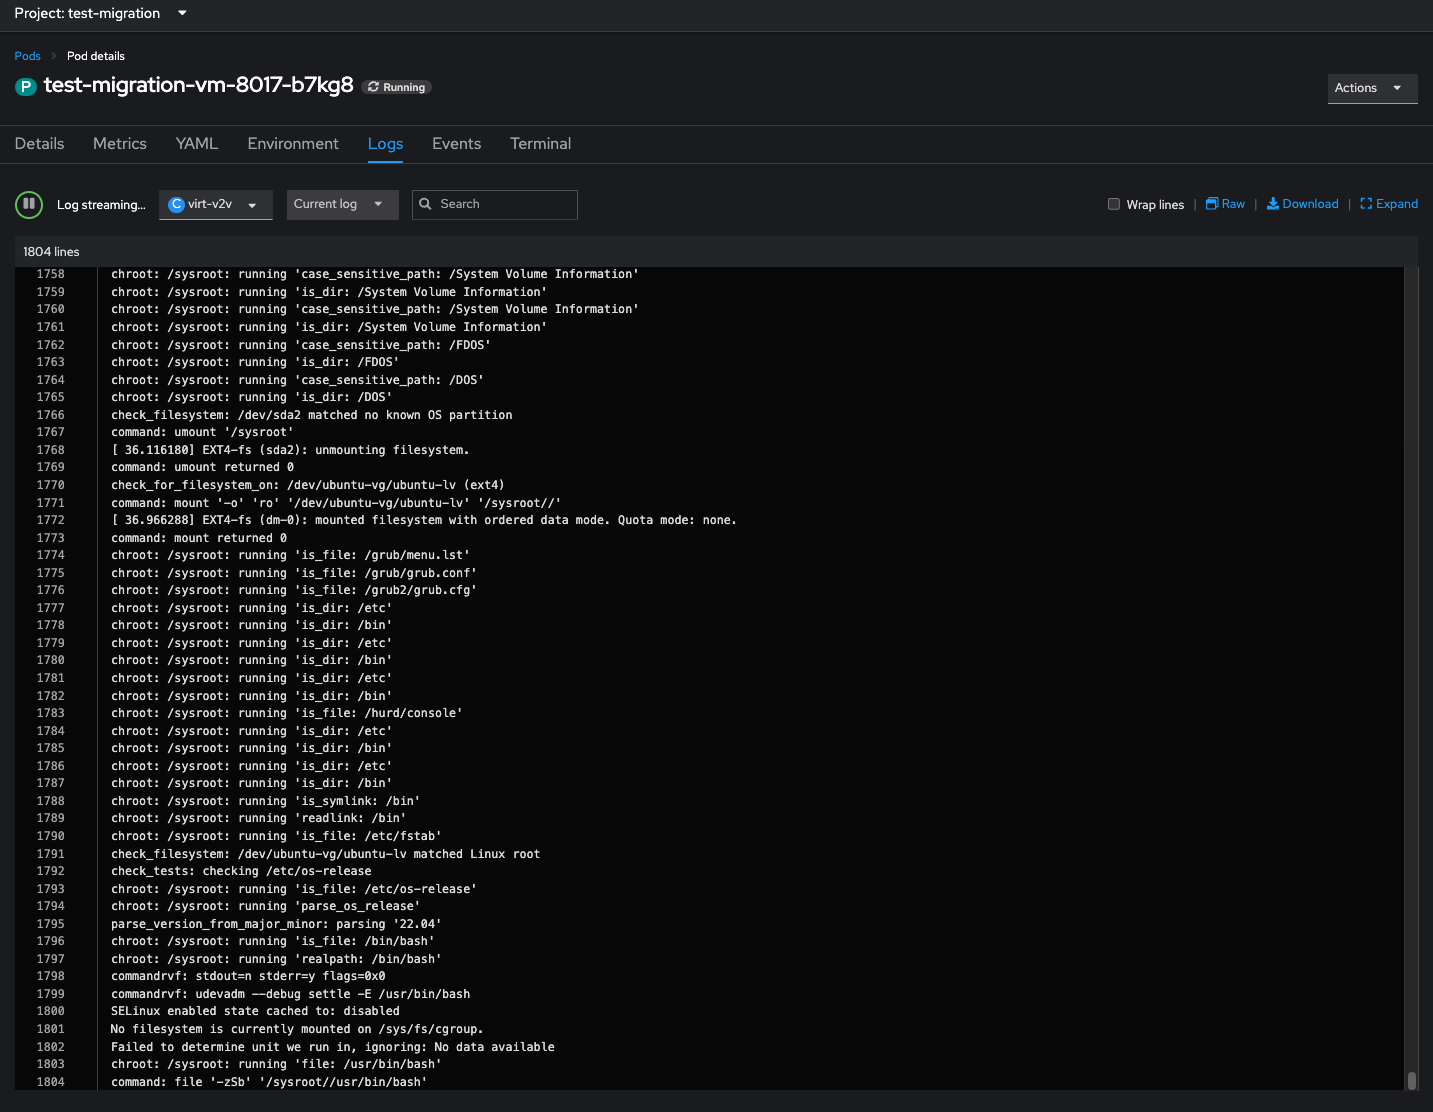
Once started it will take a while to work through the translation and data migration. My test machine took 90mins to complete, but this will vary greatly depending upon CPU and speed of network and/or the disk subsystems on each end. The majority of time is spent analysing the VM OS and doing the required translations to make it containerised. If you wish to check on the progress in fine detail, go to the namespace (under Projects) and find the running pod and inspect the logs. You should see it stepping through the mapping process.
Once the plan is complete it will display all green and start the VMs:
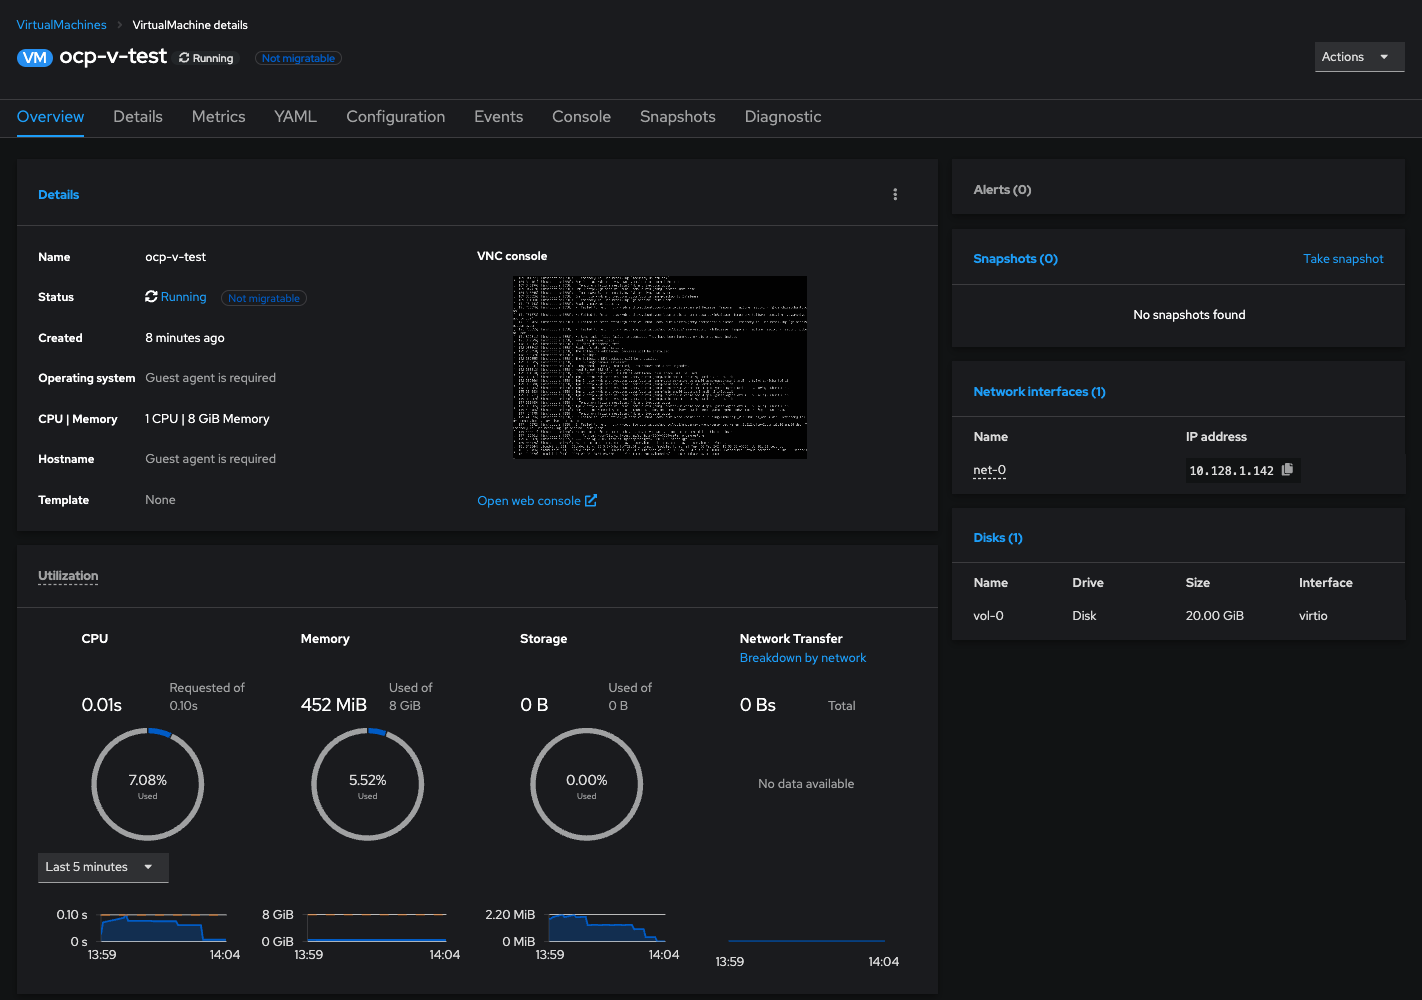
You can now find the VM under Virtualisation in the lefthand menu. Click on your migrated VM and you can see the deployment and serial console options:
One thing that will change in our specific test migration scenario is that we are now using the POD network and thus, the static IP we had set on our VM will no longer work, we have to change it over to DHCP to pickup the cluster CNI DNS, POD CIDR range and gateway details. This can easily be done by editing the following file inside the Ubuntu VM:
/etc/netplan/00-installer-config.yaml
The name of the network adapter has also changed as part of the translation. This is because we are now using a virtio network adapter, rather than the vmxnet3 adapter. Thus the network adapter has changed from ens160 to enp1s0. We need to change the netplan file to reflect these changes (as root):
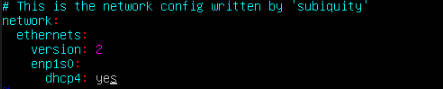
We then need to apply this change with (as root):
netplan apply
You should then be able to ping outside of the pod network and resolve names.
External Access to SSH and NGINX
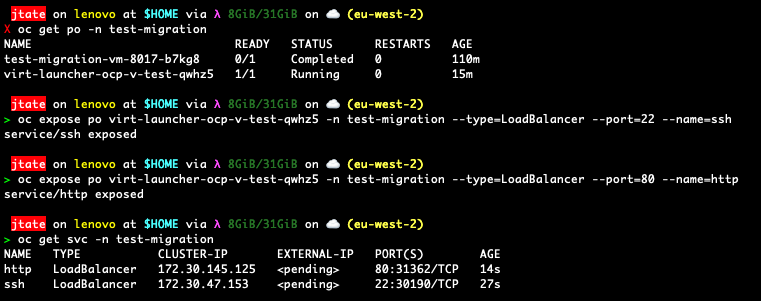
In order to access SSH and the web server those services need to be exposed on the cluster loadbalancer. Lets start with SSH. Find the virtual machine pod name for your VM:
oc get po -n <vm_namespace>
We can then expose SSH with the following command:
oc expose po <vm_podname> -n <vm_namespace> --type=LoadBalancer --port=22 --name=ssh
This will create the ssh service in the VM namespace. We can do the same for the nginx on port 80:
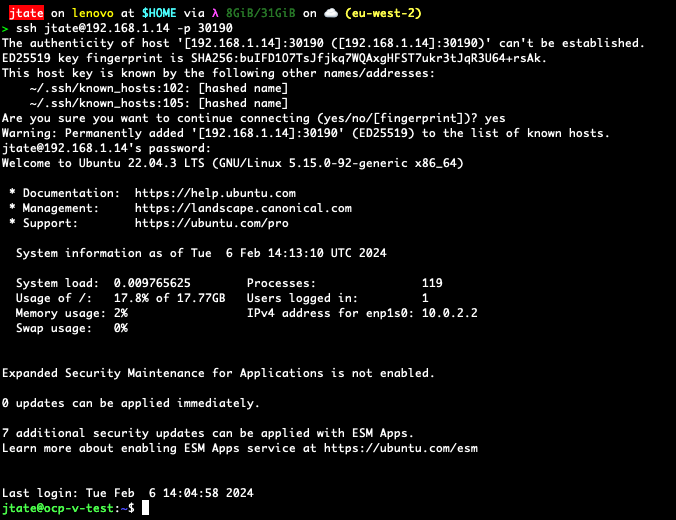
You can then confirm you have ssh access to the VM (using our example from above):
ssh -p 30190 <username>@<loadbalancer IP>
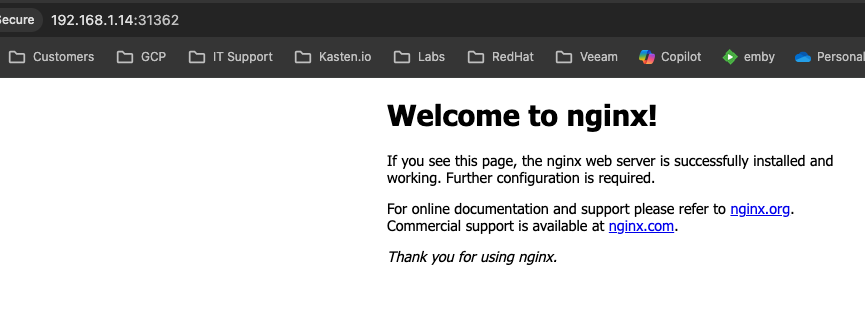
If we do the same to test the web server exposure, we can fire up a web browser and go to:
http://<loadbalancer IP>:31362
Obviously you could just expose the http as a ClusterIP then create and link an openshift route to the http service in the VM namespace, which will then negate the need for the use of the port in any URL.
QEMU Agent
Most linux distributions ship with the open-vmware agent, the open source alternative VMware agent, pre-installed so ESXi will be able to pickup metrics directly. This is not the same for the QEMU agent (which KVM uses), but it’s easy enough to install it:
sudo apt install qemu-guest-agent
sudo systemctl enable qemu-guest-agent
sudo systemctl start qemu-guest-agent
Block Mode Exports For Kasten
Kasten has the ability to export data from snapshots in BLOCK mode, which basically means it can recognise and take advantage of change block tracking. This is advantagous on large PVC’s (like virtual disks of VMs) as it can significantly speed up the export process by only copying the changes data since the last export. The initial export will always be a full copy. In order for Kasten to recognise and use this ability, we have to do two things:
- Firstly we need to add an annotation to the storage class: kubectl annotate storageclass ${STORAGE_CLASS_NAME} k10.kasten.io/sc-supports-block-mode-exports=true
- Secondly on the Kasten policy for the backup there is an option to use block export that needs to be enabled.
Enabling both there settings will ensure your VM backups are processed efficently.
More information about this feature can be found on our docs website here
Conclusion
Not only it it easy to migrate from VMware to OCP-V using MTV, but it’s entirely supported by Red Hat and can be used for both online & offline migrations. If you specifically create and map an external network on the Openshift cluster with the same CIDR range you don’t even have to change any networking. It’s a great tool to power any move away from VMware and onto a unified platform for both VM’s and containers. Better yet, those newly migrated VM’s can be protected by Kasten K10, allowing full backup/restore, DR and application mobility capabilities.
In fact there is already a demo of this process on one of our other blog posts


